
 Today, we’re going to look at how to create a drawing file in Creo Parametric. We’ll also look at some basic tools and features that you can use to get started with drawings in Creo Parametric 2.0.
Setting up your first drawing in Creo Parametric 2.0
The first step is to create the drawing file. TO do this, you need to click on ‘File’ and then ‘New’. A small dialogue will open. All you need to do now is select drawing and then ok. The next dialogue box is asking for some basic information, including the model that will be referenced, the template and the size of the drawing. Select the options that are appropriate for your use and then click ok. Note: the default model is the part that is currently open in the model window.
Simple modifications to drawing layout
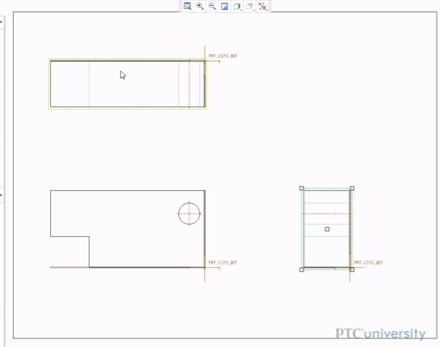
Now, the drawing is created. Depending on the template you used, you should see three projection views of the part. You might find that the size of the projection views are a bit small compared to the sheet size. If this is the case, you can easily change the scale of the drawing. To do this, you need to click on scale in the bottom left corner of your worksheet and then amend this to the appropriate scale for your needs.
Another problem you might find with your drawings in Creo Parametric 2.0 is that they can look a little bit crowded. This is straightforward to amend. All you need to do is move the location of the projections by right clicking on the projection and unchecking ‘Lock View Movement’. Now, you will be able to drag the view to a new location. This enables you to space your drawings, so they appear as you want them to appear.
Adding dimensions to drawings in Creo Parametric 2.0
To dimension the drawing, click on the annotate tab in the top ribbon and select the dimension tool. To choose an entity to dimension, you just need to click on the entity and click on the scroll wheel to place the dimension. You can also dimension between two entities by clicking one entity, pressing Control on your keyboard, clicking the other entity and then clicking the scroll wheel to drop the dimension into place.
Want to find out more about using Creo Parametric? Take a look at our free resources to find out more:
